I had been looking for a Rollei 35 for a while, after seeing so many great reviews of it, to use as my everyday/take everywhere camera. I finally got one in November last year.
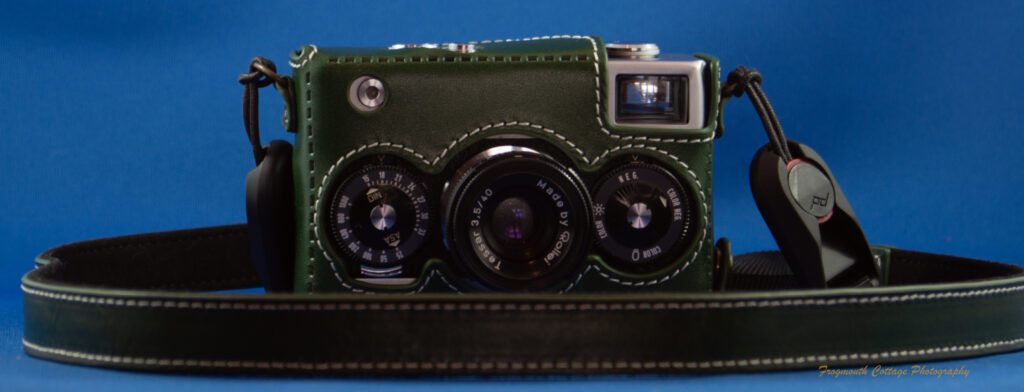
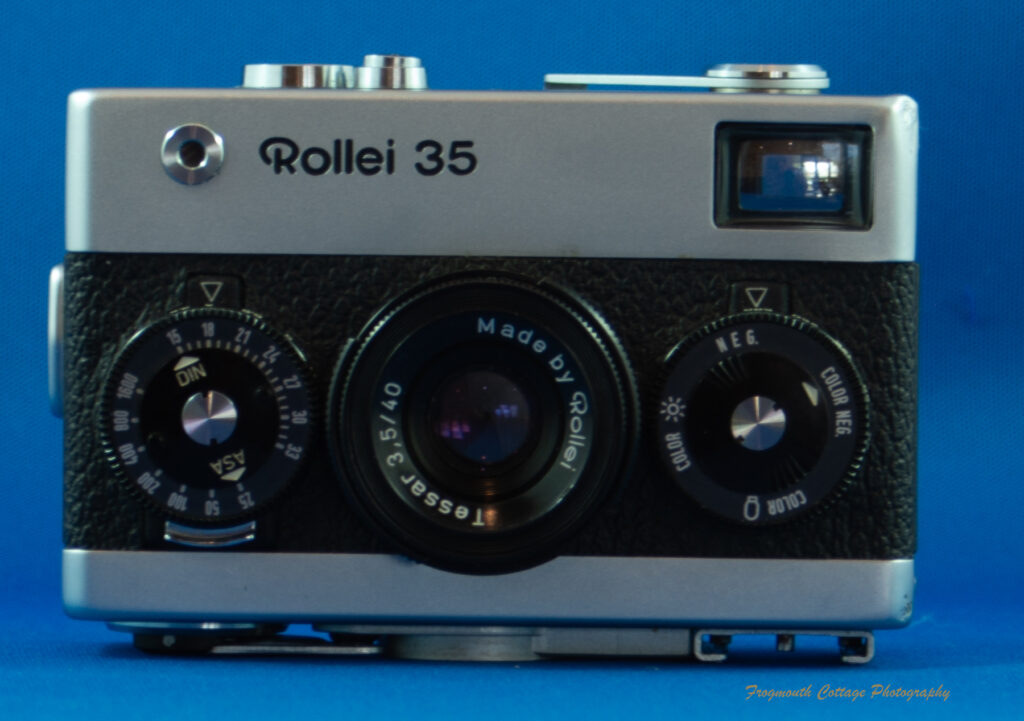
The Rollei 35 camera was first released in November 1966 and was the world’s smallest full-frame 35mm camera at the time (and probably still is). There is a lot of functionality packed into this camera, and it’s size makes it a perfect pocket or handbag camera. It’s one of the reasons I sought one out as an everyday carry camera. The Rollei 35’s were made in Germany and Singapore and came with a number of variations over the years. My model is black and silver with the Tessar 3.5/40mm 24mm diameter lens, and was made in Singapore.
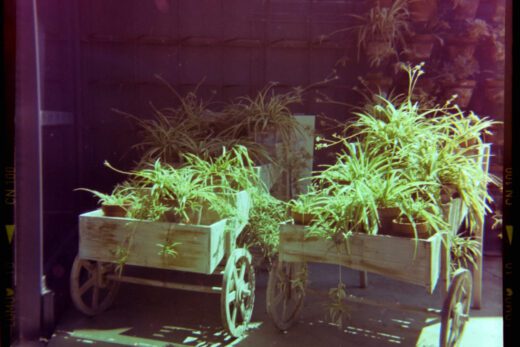
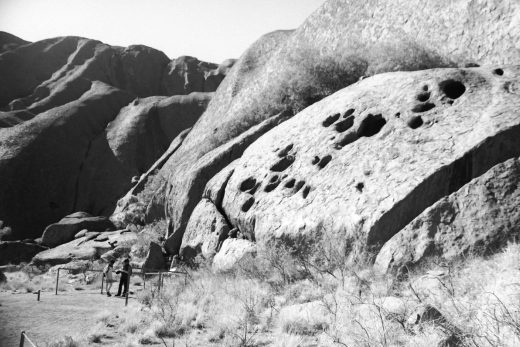
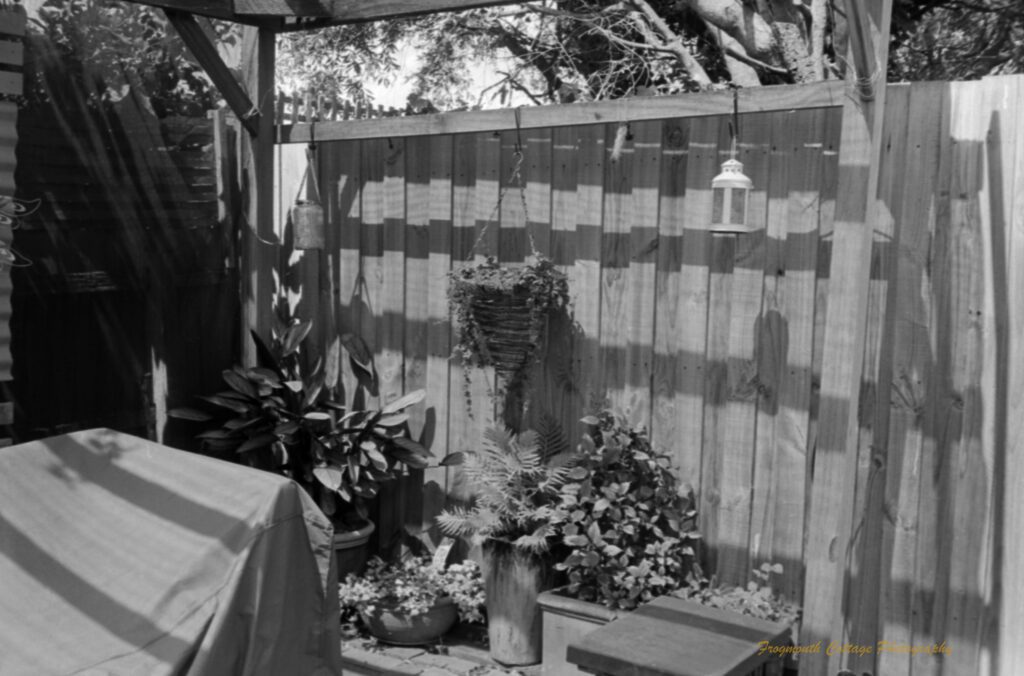
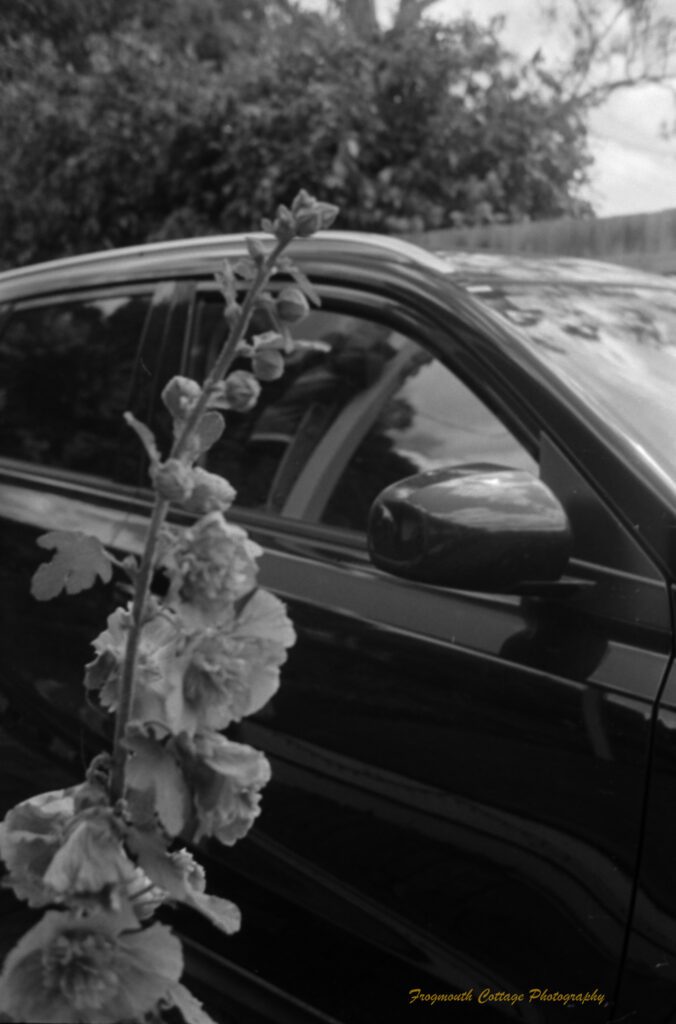
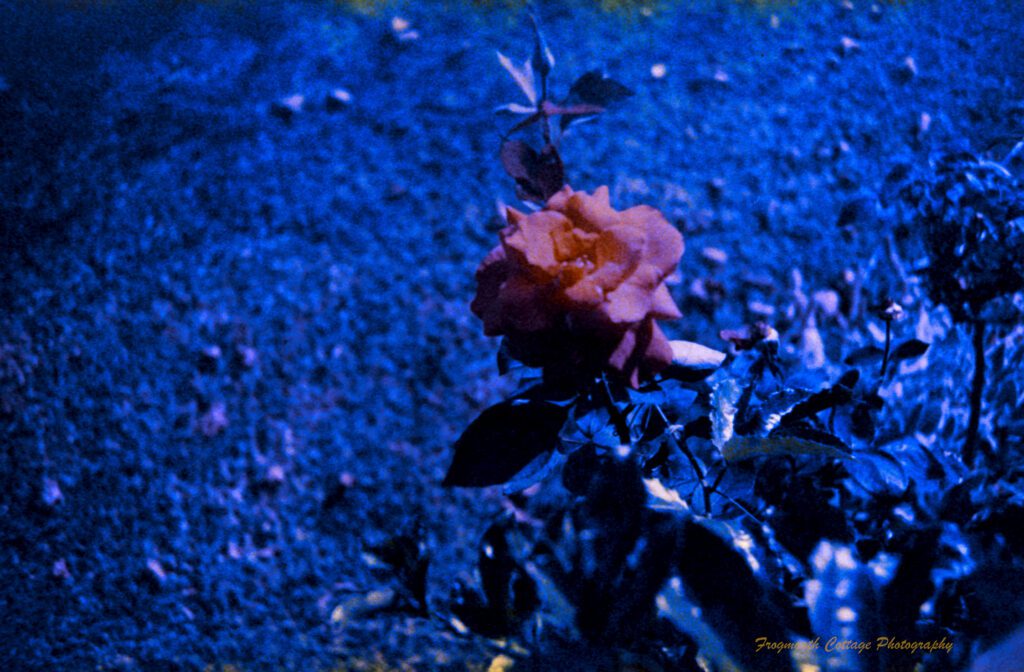
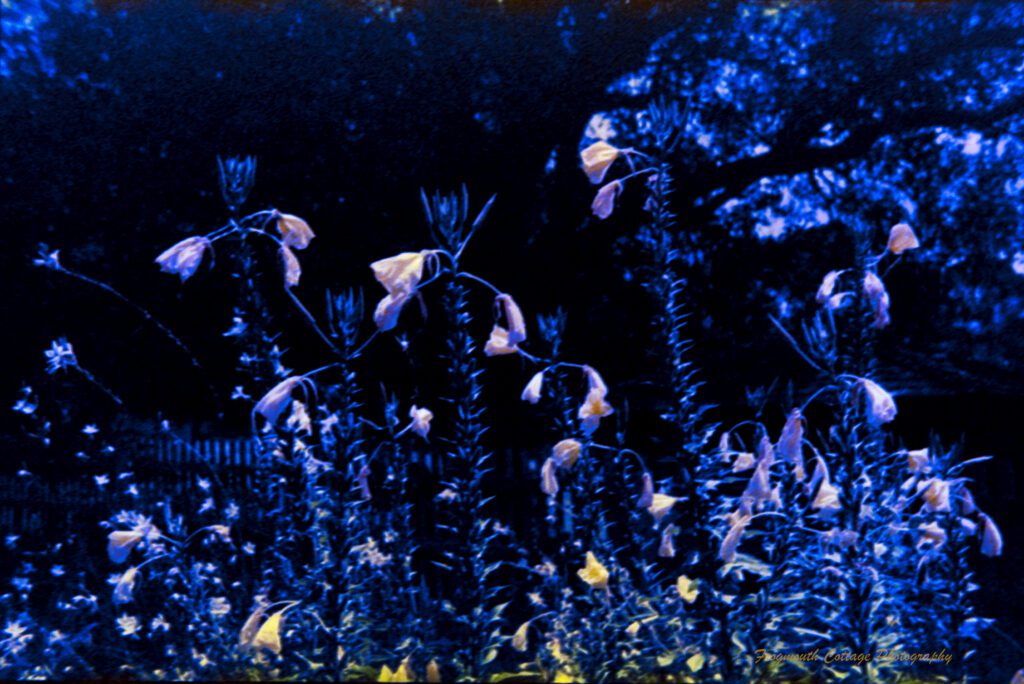
Immediately after purchasing the camera I put a test roll (12 exposures) of Ilford FP4+ 125 through it to make sure it was working. Once I’d confirmed that, I took it with me to capture family Christmas snaps with a roll of Kodak ColorPlus 200, and then put a very expired (1980s) roll of ORWO NC3 through it. By the third roll I’d got the hang of it, although the colour shifts on the ORWO are seriously weird and cool. I expiremented with shooting from the hip a bit, and managed to get a couple aimed right.
This camera does take a bit of getting used to. Due to it’s small size the dials can be a bit tricky, and I definitely need to have my reading glasses on when using it! Features of the camera include zone focus, a surprisingly big, bright viewfinder, and a built in CdS light meter. The lens of the camera is collapsible when not in use, which makes it even more suitable for carrying around as an everyday camera. The light meter is powered by a battery (see further below) that is fitted underneath the film cannister. This means if it goes flat, you can’t change it until you finish the roll of film. The camera will still operate without a battery, it’s just the light meter that requires it and exposure can be determined with an external light meter or using the Sunny 16 Rule.
There are dials on the front to set the film type (as a reminder), film ISO, distance (for zone focussing), shutter speed and aperture. The depth of field scale on mine is in metres on top and feet on the bottom, which is definitely a lot easier to use than some of my other cameras with just feet markings. The snapshot markings are at 2m and 6m, which when used at the recommended f11 will give a depth of field of 1.5 to 3m (at 2m) and 3m to ∞ (at 6m).
To extend the lens, you pull it out from the body of the camera and twist it to lock in place, this engages the lens to take the photo. There’s a button on the top of the front of the camera to release the lens to collapse it. However the lens will only collapse after making an exposure once the film has been advanced, or it can be collapsed if you change your mind and don’t make an exposure. This mechanism means that camera is ready to shoot with as soon as the lens is popped out. The film is advanced with the lever on the top of the camera and rewound with the winder on the bottom. The frame counter and hot shoe are also on the bottom, as is the release catch to open the camera. When using a flash, the camera needs to be turned sideways (portrait mode) so that the flash is on the left side, or turned upside down so that flash is on top.


Batteries
The camera requires a 1.35V PX625 mercury battery. Mercury batteries are no longer available, but there are a number of options:
- Wein cell 1.35V MRB625 zinc-air replacement batteries.
- Purchase an adapter for use with hearing aid batteries – I purchased mine on Etsy from Polar Bear Camera with PR44 Zinc-Air Batteries. Hearing aid batteries are cheap and easy to purchase.
- SR-44 1.55v silver oxide batteries.
Differences in voltages is likely to lead to some over exposure, however the age of the camera (as with most film cameras) may also mean that the meter is not callibrated correctly, so some testing is recommended. If the meter is a few stops off, this can be adjusted before by changing the ISO setting by the same number of stops.
My light meter may be faulty, as putting several Wein cells in it caused them to almost immediately go flat. I’m currently testing with the hearing aid batteris and the Polar Bear adaptor.
Accessories
Given the popularity of this camera, it’s not surprising that there are new accessories being made for them, which can be purchased on ebay and Etsy. I’ve found a wrist strap, lens cover, lens hood, light meter cover and 24mm skylight filter all new. My husband bought me the green leather case and neck strap as a gift. I’ve also found a number of secondhand coloured 24mm filters on ebay.
Final Thoughts
I’m super happy with this camera and it now has a permanent home in my everyday bag. Needing to wear my glasses to read it was a bit of a pain at first as I had to keep taking them on and off, but I went and got a new set with bifocal lens so I can keep them on. As long as I’m not changing my settings too often, this works fine. If you have a chance to shoot with one defintely try it!

